Projects & Thoughts from Louise's head & hands

January 8, 2012

Making Cards

Filed under: Paper Projects — Louise @ 11:04 am

I enjoy creating with paper.

I like the tactile sensation of working with different types of paper.  Each paper has a special characteristic that is interesting and fun to work with.

Some papers are shiny and transmit light.  Heavy coarse papers receive ink in a way that almost makes it appear as if the paper itself is oozing ink.  Thick papers help create depth and dimension.  Tissue paper is delicate and lends a see-through quality to a piece.

I mix materials on the cards I create…scraps of ribbon, fabric and old wrapping papers, paint, markers, glitter, or cut outs from cards received.  The more materials I think of, the more materials I have with which to create!

A handmade card is a gift in and of itself.  It’s a gift from me to the recipient, a card made especially for them.  It’s also a gift to myself.  Creating a handmade card takes time, so this is the gift of time I give myself and the opportunity to be creative and think about the person for whom I am making the card.

When I decide to make a card I don’t always have a complete design in mind.  I’m thinking more about the person or the occasion.  Depending on the materials I have on hand helps to inform the creative direction I take.


January 7, 2012

Mixed Media Cards

Filed under: Paper Projects — Louise @ 10:53 pm

Using scraps of wrapping paper and ribbon, stickers and cards you create yourself or blank cards you already have, you can create unique handmade gift cards.

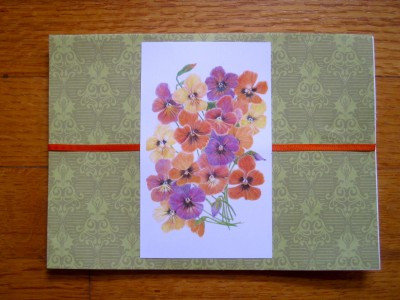
In this example I already had the commercially produced card with pansies.  I glued decorative paper to the front of a blank card, added a piece of orange ribbon horizontally, then glued the pansies card over the top.

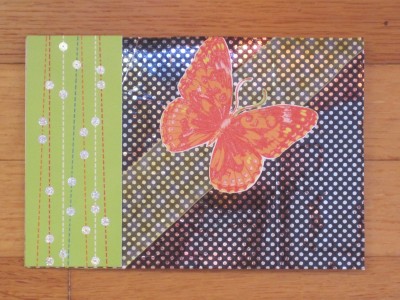
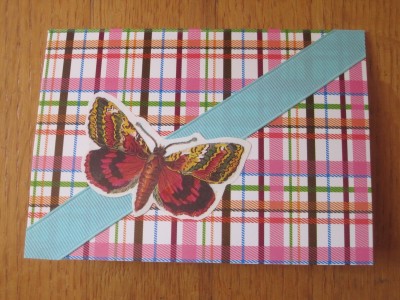
To customize the card below, I used a commercially produced patterned note card, added the pale blue ribbon, and then the butterfly sticker.

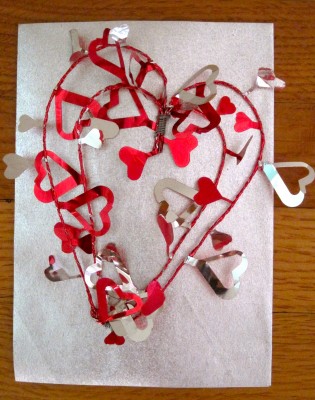
Making the card with the a wire hearts wreath was fun!  This material is available from the 99 Cents Only store.  I covered the FRONT of a blank card with silver wrapping paper.  After twisting the wire hearts into two concentric heart shapes I secured the shape with picture wire at the bottom point of the heart and the center.  I punctured the front of the card, inserted the picture wire and splayed open the ends of the picture wire on the BACK of the front of the card.  Then I covered the surface with paper to hide the wire ends.


For the card with the butterfly I used a blank card as the foundation.  I glued a scrap of black and silver polka dotted wrapping paper to the surface of the card.  Then I glued a scrap of yellow and cream translucent ribbon diagonally across the card.  On top of the ribbon I applied a piece of green card I salvaged from another card.  The butterfly was cut from yet another card.  I used shiny gel pen to colour parts of the butterfly’s wings to make them shimmer and equal in beauty to other elements of the card.


January 5, 2012

Share the Love Cards

Filed under: Paper Projects — Louise @ 10:26 pm

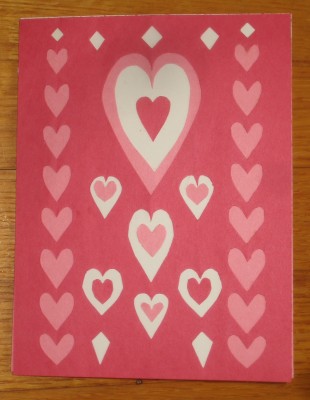
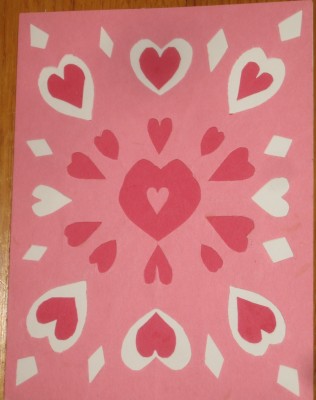
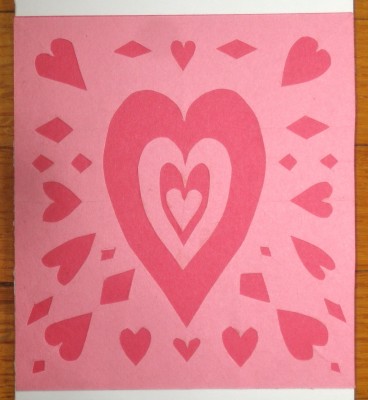
Remember when you were a kid and you would fold a piece of paper, cut it in a number of ways and make a snowflake?  Here’s a take on that idea for Valentine’s Day cards.

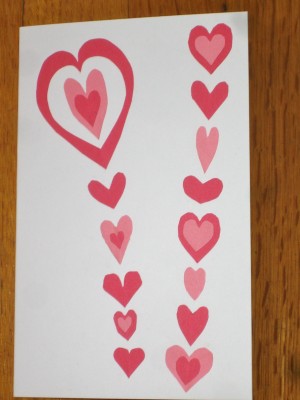
Using multiple colors of paper and layering them, you can get a variety of attractive, fun to make, personalized, share-the-love cards.  Every heart cut out becomes a heart you can glue in someplace else.


January 4, 2012

Layering Paper Cards

Filed under: Paper Projects — Louise @ 11:30 pm

Construction paper, wrapping paper, scrapbook paper…whatever you have is ideal for making a card.  Here are some examples when I cut shapes of different papers and layered them to create a design.

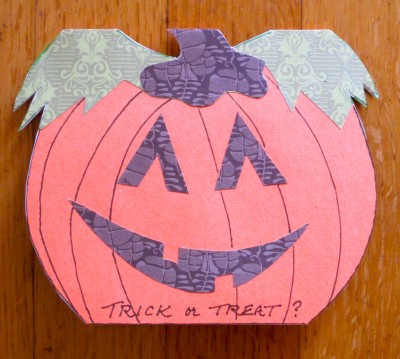
On the occasion of a dear friend’s 99th birthday that falls on Halloween I handcrafted the following card.  You’ll recognize some of the scrapbook papers used in other cards.  The front of the card is a pumpkin.  This shape lends itself to a cupcake, revealed when the card is opened.  The candle is a piece of ribbon.  The candle’s flame is a combination of shiny golden papers cut from old Christmas cards.


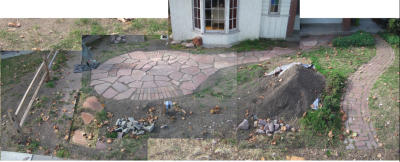
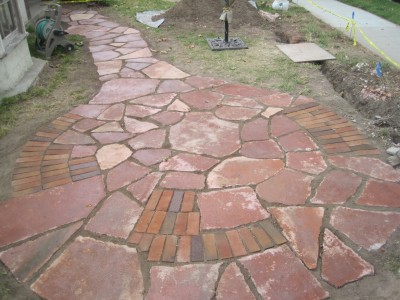
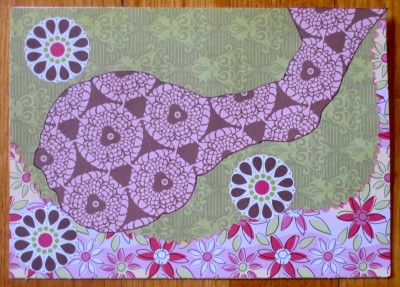
Inspiration for a card design can come from anywhere!  I designed and installed a stone patio in our front yard.  When we received a gift towards this project I made a thank you card in an abstract likeness of the patio.  Here are a couple photos of the patio during installation:


In the card I created below it clearly is not the stone patio.  The image artistically represents it enough so that the recipient of the card knew exactly what the image was and our gratitude for her thoughtful and generous gift.  For this card I used a layered combination of scrapbook papers.  Miraculously I had this paper on hand!  The central paper of pink circles on brown evokes the rose coloured patio stone.  The green paper is like groundcover and the flowered paper represents the garden that will be installed.


Christmas Cards & Gift Tags

Filed under: Paper Projects — Louise @ 10:11 pm

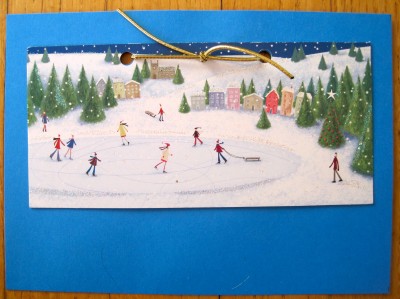
With an abundance of Christmas cards received over the years, combined with the desire to be creative and not see these beautiful cards go to waste, we have a great opportunity to make those cherished cards new again and special to someone else.

Knowing which outer envelope to use ensures getting the sizing right before anything is cut.  You may have spare envelopes on hand; they are also available in packages from craft stores.

Separate the front from the back of the card.  If the card is particularly large or has a section worthy of being featured, cut out just that section.

Make a larger new back page in a complementary color of card stock.  While I do not have a photo of it, I use fancy scissors to cut a white sheet card stock and place between the front image and the new back page. I write my Christmas greeting on this paper.

Punch holes in the top and tie the pages together with ribbon or twine (I bet you have lots of scraps available for this small job!).  The next time I do this I might consider using fancy scissors to give an attractive edge to the new back page.

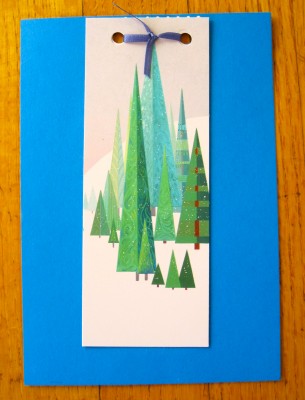
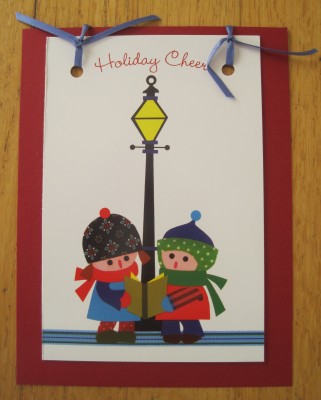
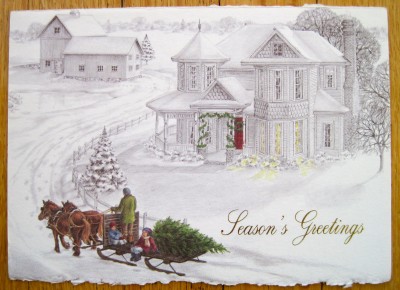
Here are some examples of new Christmas cards made from previously received cards:


Gift Tags

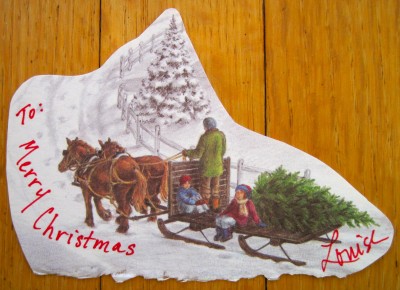
Also consider that sections of these Christmas cards make great gift tags.  Why buy packages of expensive one-use stick on tags every year when you have these fabulous cards from previous years?  Simply cut out a section of a card to write the name of the recipient.  Tape or tie it with the curly ribbon to the gift you are giving.

A card can go from this…

to this gift tag…

Decorating Packages

Consider gluing an entire card face to the outside of a plain brown paper bag to dress it up for gift giving…or on the outside of a wrapped package.  This is especially useful if you are mailing or packing wrapped packages in your luggage.


January 3, 2012

Paints, Markers, Glitter Cards

Filed under: Paper Projects — Louise @ 10:58 am

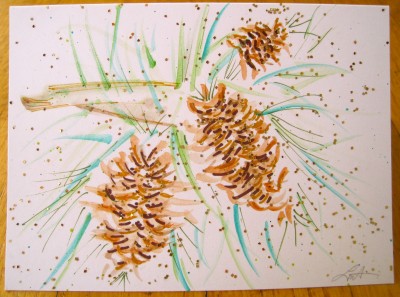
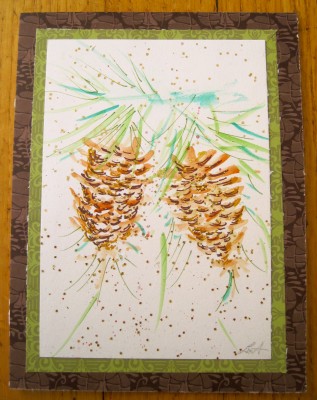
Inexpensive and readily available markers, watercolor paints and glitter work well together.

In these examples the watercolor paint was used first to create the leaves, pine cones and needles.

Then image was strengthened with the use of markers.  The red berries, for example, have red marker applied around the interior perimeter; the middle of the berries where the color is softer is the original red water color.  Brown markers were used on the pine cones.

Finally I used a light application of spray glue and sprinkled glitter on the cards.  (When using spray glue it’s a good idea to have a prepared surface to protect it from over spray.)


Here’s a card I painted with water colours, enhanced with markers and glitter, gave it a new back and tied it with a gold cord:

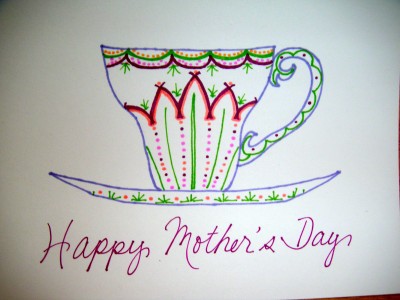
Having fun creating with just markers:


January 2, 2012

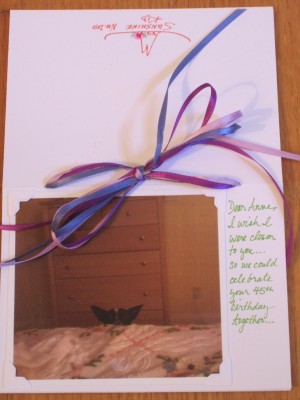
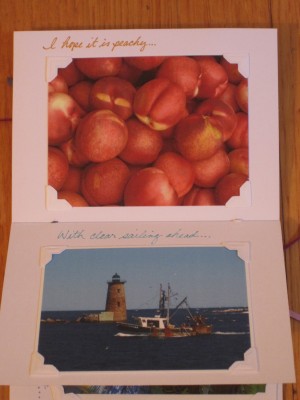
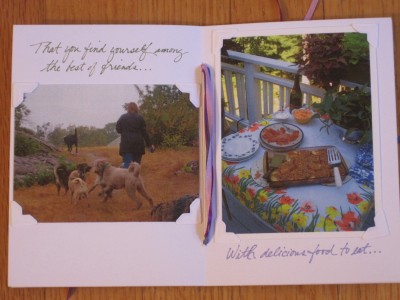
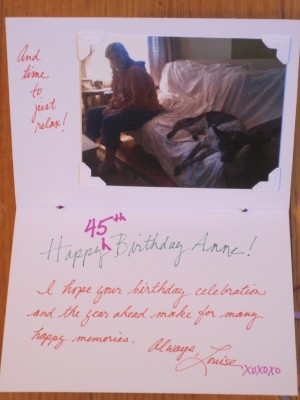
Photo Cards

Filed under: Paper Projects — Louise @ 11:50 pm

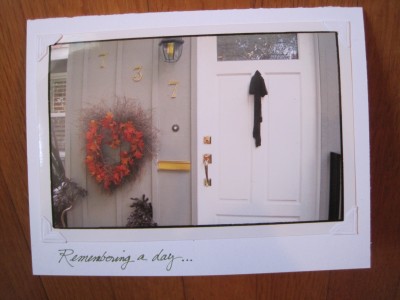
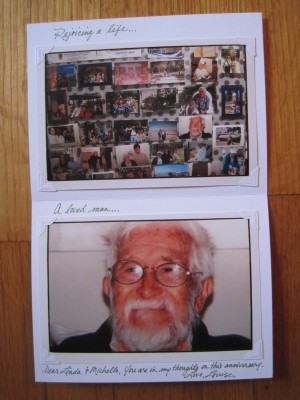
Photos you’ve taken and incorporate into cards make them especially personal gifts.

Using photos for cards is also ideal if you are short on time or ideas of what to do or how to work with paper, ribbon and glue.  The lick and stick photo corners can be found at craft stores.

This card was created to honor the memory of a friend who had passed…


This is a birthday booklet card…


January 1, 2012

Fancy Paper Hat

Filed under: Paper Projects — Louise @ 12:04 pm

LA South Towns Show Chorus was hosting a tea and invited guests to wear fantastic hats.  My idea was to create a hat that looked like a table set for tea.  I assembled wrapping paper, a gift bag, child’s tea set, cardboard, glue and scissors and got to work.
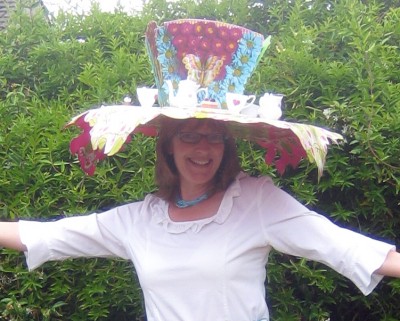
After determining the width of the brim of the hat I cut the cardboard.  Then I cut a hole in the middle of the cardboard for my head.

I traced the shape of the cardboard onto the back side of each piece of wrapping paper, making the paper larger than the perimeter of the cardboard so the wrapping paper would overhang (more about this in a moment).  The patterned paper was for the top of the hat, so it would look like a tablecloth.  The solid colored paper was for the underside of the hat.

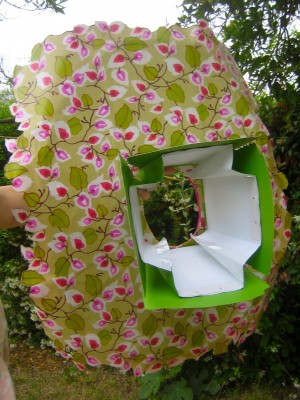
I traced the opening for the hole for my head onto the wrapping papers.  I cut this hole in slots that I then folded over the cardboard to make a clean looking edge where only paper was visible, not cardboard.

The top paper was glued in place overhanging the sides of the cardboard.

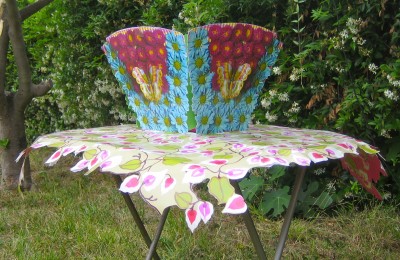
I partially disassembled the fancy gift bag. The bag looked like a bouquet of flowers, ideal for the centerpiece of my table and as a method for hiding the top of my head popping through the table. The bag was secure to the cardboard with clear packing tape through the head hole so it would stay upright.

Then I glued the underside, solid colored paper to the bottom of the cardboard. This covered up the packing tape holding the gift bag in place.

Next I cut the overhanging paper in a way that traced and accentuated the patterned paper. It draped off the corners of the cardboard, looking like a tablecloth.

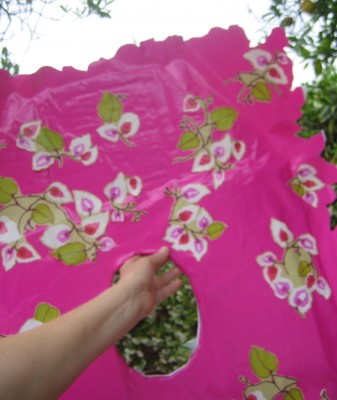
From extra patterned paper I cut some of the flower pattern and glued it to the underside of the hat. This carried through the color and design theme to the underside and would make it more interesting near my face.

Here are photos showing the bag attached to the cardboard, already covered at this point with the wrapping paper, and the decorative edge of I cut into the “tablecloth”:
The underside of the table hat is decorated with flowers and vines cut from the patterned paper:
The tea set and paper napkins were taped into place on the table. The hat was complete and ready for the fashion runway!
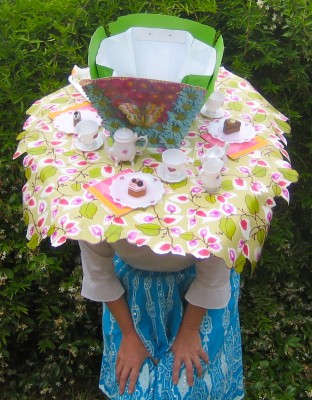
The hat was a show stopper and won “Biggest Hat”. I am tall so ladies couldn’t see the top of my hat unless I was bent at the waist or sitting down. I did a lot of bowing that night so they could see my hat set for tea.
Powered by WordPress